It’s been almost 1 year since this room was “completed”, and I’m finally showing you the pictures I took 8 months ago. Do I get blogger-of-the-year award or something for that?!
This little room means so much to me. You’re going to see pictures of painted walls and curtains and furniture and books and stuffed animals… I see all the memories made during the countless hours I’ve spent in this room over the past year. Nursing. Rocking. Singing. Playing. Cuddling. Laughing. Changing his clothes. Changing his diapers. ALL of them in here … yes, I’ve not changed my baby’s diaper anywhere in this house except his changing table.
The room was already painted prior to finding out we were expecting a baby. So, I planned around the color already in place. I also wanted to be flexible should the room need to be used for a girl down the road. So, the basics are gender neutral. It’s the little accents that add some “boy” to the space.
This is one room in the house where I honestly had ZERO vision for what I wanted the end result to look like. But I knew I wanted it to feel a certain way. These are a few of the descriptive words that came to my mind: Light. Bright. Colorful. Playful. Fun. Relaxing. Flexible. Not theme-y… And I just started adding one little element at a time until the whole thing kind of came together (right before his birth). It was a magical moment for me. I just LOVED it. I still love it.
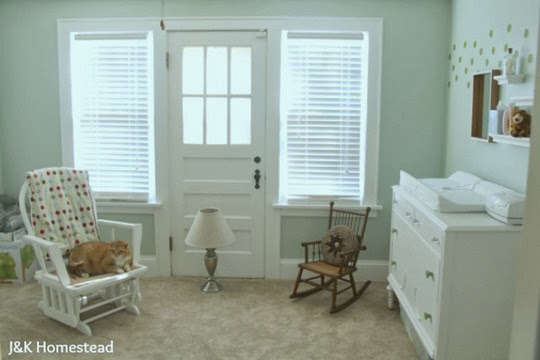
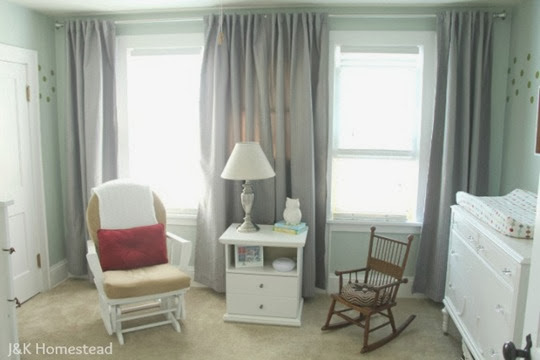
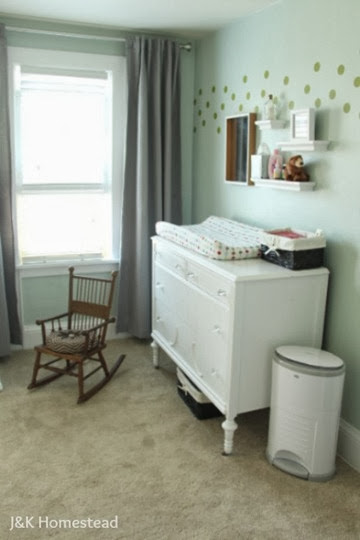
So, here are a few a lot of pictures. To start, you’ll see a pretty blank slate…carpeting we installed 2 years ago, white wood blinds, a lamp with no stand, a little furniture – including a little rocker that was Joey’s growing up (and originally came from his grandfather) and a dresser which I received from my grandmother’s farmhouse in Maine and my dad painted white. My grandmother passed away while I was pregnant. I love looking at these item and thinking about the history behind them.
This is the 2nd floor of our house, and yet there’s a door that leads to what could be a balcony on top of our back porch. But no balcony exists right now. So, one of my goals was to make that door “disappear”.
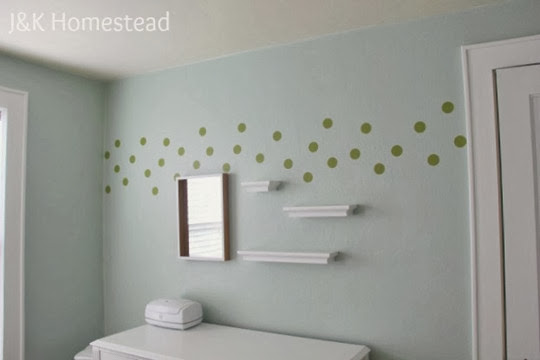
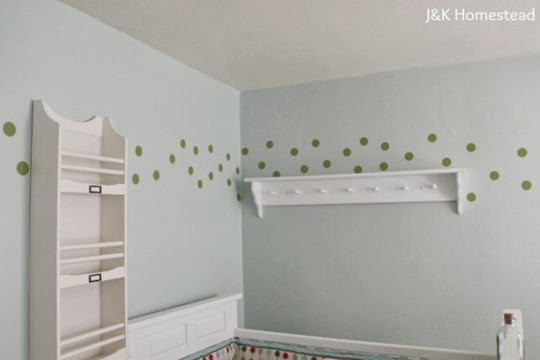
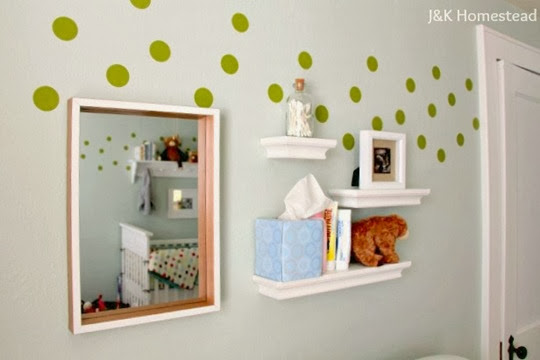
On the right wall, you see some green dots floating around. One of the first things I did in the room was order some polk-a-dot vinyl wall decals and randomly place them on 3 of the walls to act like a border going around the room. It took me 30 minutes to stick them on the walls. They have not budged, yet could be easily taken off if needed. They were a great way to add some “fun” and “color” to the room.
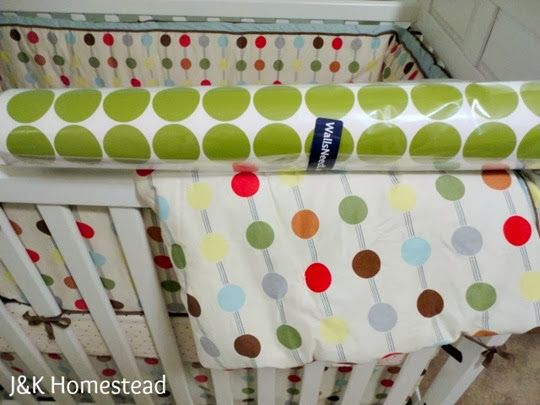
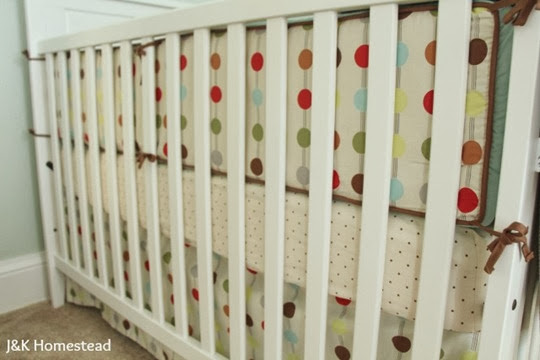
I also liked how they played off the polk-a-dot crib bedding I had selected. The bedding also fell in line with my “colorful”, “playful”, “fun” theme. It was a little more modern than I had originally considered. But I decided a little modern would be good for a boy.
Here are few pictures showing a finished space…
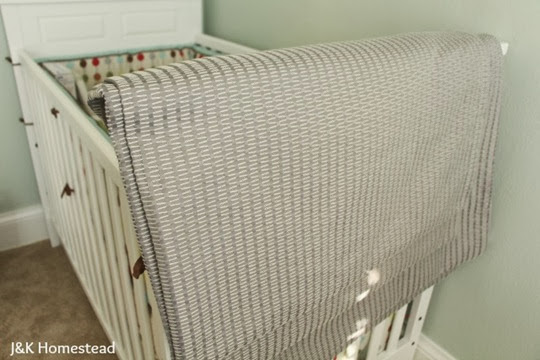
This is the view when you walk in the room. You can kind of see the door behind the curtains when it’s super sunny, but otherwise it’s pretty well hidden. Below is a close-up of the curtains right before I hung them. I LOVE THEM!
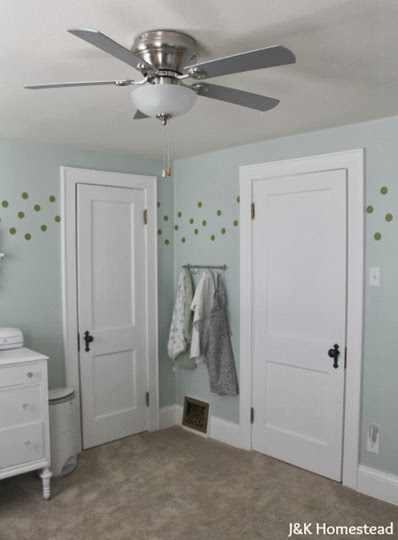
I tried to make use of every space in the room. In the picture below, you see the door entering the room (right) and the closet door (left). In-between the two, I hung a hook rail to hang receiving blankets, heavier blankets, and my nursing cover. A lot of function in other wise dead space. The ceiling is also new to the space. The gray blades play off of the gray curtains.
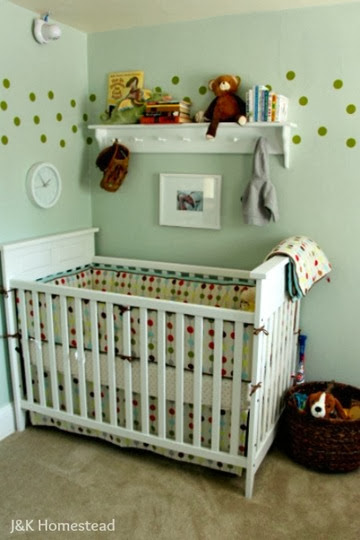
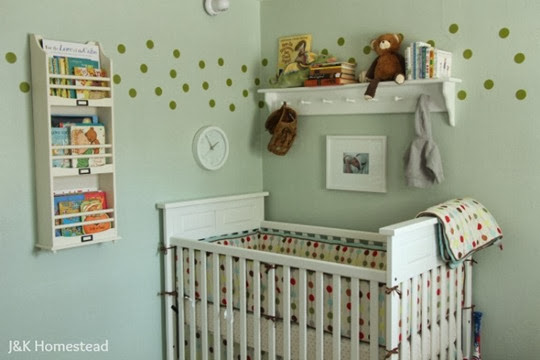
The corner where the crib sits in my favorite section of the room.
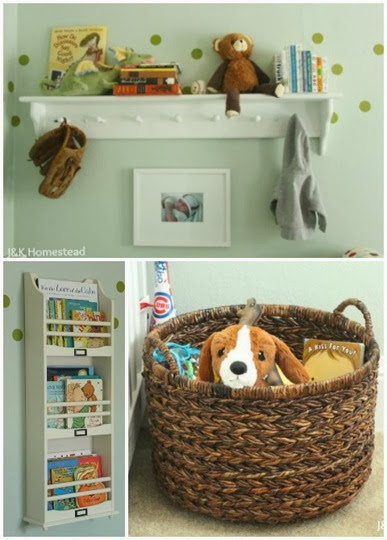
The shelves full of books and stuffed animals, a baseball and baseball glove (Joey’s grandfather’s glove), and a little boy hoodie. More toys and books and stuffed animals in the basket.
It just encompasses everything I wanted the room to feel. It also displays so many of the gifts given to me at my baby shower or passed down from family. We actually spent very little on this room. Maybe $300 total??? Amazing.
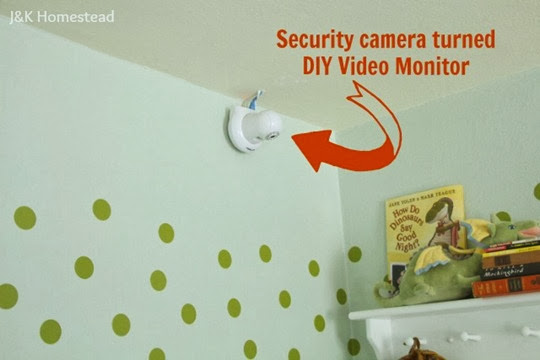
One of the last things we added (well, Joey added) was a video monitor to watch our little man as he slept (or played around as he likes to do these days). Many (good) video monitors cost upwards of $200-$300. Joey bought this security camera for $80 off Amazon and ran the wires through the attic to hook it up to our house’s Wi-Fi system. We then downloaded an app for $0.99 that allows us to use the monitor on our phones or tablet. It has full audio (although we rarely use that). You can control the camera from your phone to make it move and scan the whole room. You can also talk into your phone have it come out the camera for the baby to hear. BEST MONEY SPENT in this room. I don’t know how people survived baby-hood before this.
So, that sums it up. I’ll spare you more pictures of insides of closets and stuff. Although, his 2 semi-walk-in closets are another miracle when it comes to storing baby clothes and other items. No running around the house (or down to the basement) to pull out totes for the next-size-up clothes. They’re all in closets. So small, yet so functional.
I look forward to many more hours/days/years spent in this little room with Jeremiah.


