April 30, 2012

We're Fencing

Well, we're planning (and starting) to put up a fence in our back/side yard. It's a plan that's been in the works since we bought the house 2 years ago. When we poured our new patio last fall, we knew that the next step of the outdoor-makeover would be the fence.

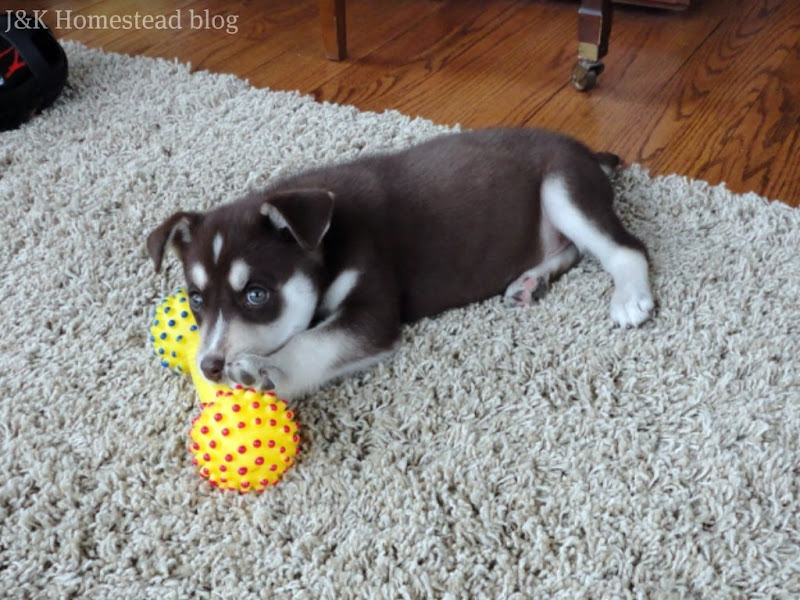
So, here we are in the spring of 2012 with a new puppy and in desperate need of a fence for containing her and for some privacy in the yard. We are on a super duper tight budget for this. Like pennies. So, we can't do anything fancy. We're leaning towards all-practical with room to embellish later on if additional funds roll in.

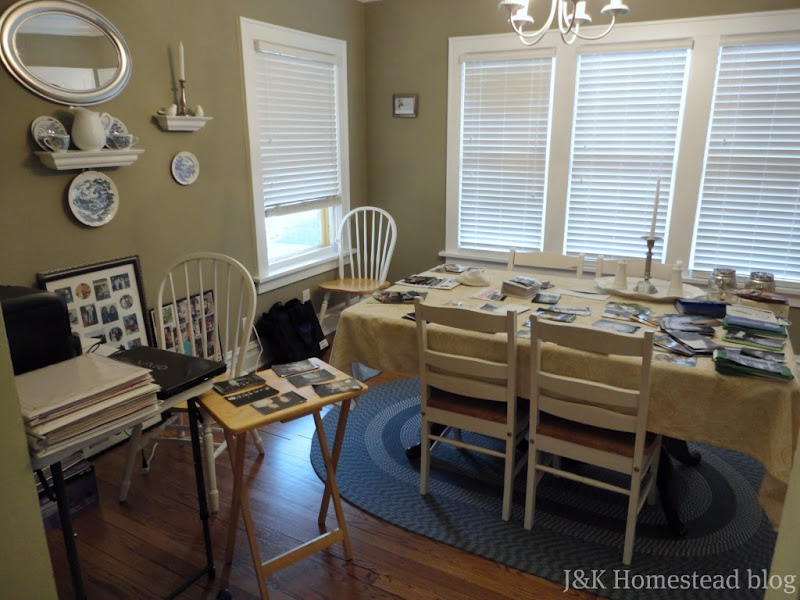
As a way of reminder, here is the new bare-as-bones patio...

And here was a tiny list of the many, many things that still needed to be accomplished in the surrounding area...

Joey actually got started on the sinking-steps problem before winter hit. I'll have more on that in a separate post.  The pile of junk got thrown out and the wood pile moved to the opposite side of the porch by our neighbor's fence.  The dirt/grass issue was taken care of by regrading the side lawn and planting new grass. It was super easy, and the new grass grew in fast before winter came. It's a little patchy, but we can fix that this summer. So, here is the layout of our tiny back/side yard.

Joey has started marking wear the post will go. The fence will sit about a foot in from the driveway and sidewalk in order to leave more walking room for people. We're going to wrap the fence around by the side door of the house. This door leads right down to the basement wear the puppy's kennel is kept. So, letting her in and out from this entrance will be easy. There will be a little gate in front of the side walk way for anyone wanting to enter the yard from this point.

Rose will love not having to be on her leash. She'll be free to roam the yard and patio area and see the dog next door. They already talk to each other when they're both outside. And they have play time together EVERY day. I don't even get play time with my friends every day. Lucky pup.

Joey got a head start on this project without me even knowing it (until I saw it completed). He actually started on the opposite side of the patio - both behind the garage and to the right side of the porch.

Behind the garage was a disaster zone. A lot of leftover boards, materials, and junk were piled on the grass-less ground. Joey cleared it all out, laid down new sod, and then added a fence panel at the far end to prevent Rose from wandering to the neighbors on the other side of the garage....


Ignore the peeling paint. The garage and porch siding will eventually be replaced.

Here is the other side of that same panel (I snuck up the neighbor's driveway to take the pic)...


Joey used green-treated wood panels and nailed them into the 2X4 boards he put up. The "green" coloring will eventually disappear, and I'd like to white-wash the fence for a clean, bright finish. Again, this is the cheapest, yet most-durable lumber we could afford.

Meanwhile, on the side of the back porch, Joey got busy installing a gate. He laid down some boards on the dirt for now, but we'll either lay down sod or possibly landscaping stones later. The gate will make access easy to this side of the house, and it allows for our neighbors to easily enter the backyard to take Rose over play time each day. We love our neighbors!


I caught him mid-project, but you can see that he put up posts and the gate frame first. The frame came with hinges to use and everything. So, it was a pretty simple follow-the-instructions kind of process.


Then panels were nailed to the frame to fill in the space. Joey still has to get the latch attached for it to hook to the neighbor's fence.


You can see the gate comes up to Joey's ribs. The fence will be a little bit higher than that. And we're planning to added some decorative lattice or something like that to the top of the fence. So, that will make it seem even higher.


Puppy will hopefully enjoy the freedom of roaming the yard (eventually)...


The next step will be digging post holes, pouring concrete, and getting the fence posts in place.


Joey is planning to start that project not this weekend, but the next weekend. So, I'll have more pictures when the time comes, but we're planning on using the same green-treated wood panels that were installed here. Again, I hope to paint it all white some day, but at least for now we'll have some privacy and dog-roaming room.


Pin It

April 17, 2012

Be Our Guest: Adding Color to Kitchen Designs

Hello, all! Mari here from Design Shuffle, a fantastic online community for interior designers, other design professionals and design lovers from around the world. I am so happy to be here visiting J&K Homestead as a guest blogger. Today, we're talking color and kitchens. Whether you want to enjoy a little color during dinner prep or an intense color experience while entertaining, here are eight beautiful decorating ideas for adding color to kitchen designs. Please enjoy!

Colorful Kitchen

Beautiful blue glass tiles and blue accessories and textiles give this country kitchen an inviting coastal feel.


Colorful Kitchen

In this all white kitchen, lovely little pops of color come from decorative objects, serving pieces and a single glossy red hanging pendant.


Colorful Kitchen

An easy, but effective way to add color to a white or black and white kitchen is with fresh fruit, vegetables and flower. Talk about quick changes, this one is simple, but creative.


Colorful Kitchen

Colorful kitchen design ideas are sometimes bold like this brilliant red apron sink. Not for everyone, but surely a source of joy for the family who eats and cooks in this wide open space. I love the addition of magenta skirting.


Colorful Kitchen

Modern and very stylish, this kitchen is also feels comfortable and inviting with soft color on the cabinets. Wouldn't it be marvelous to sit for a while and visit over coffee or tea and pastries? I love those brightly colored cups and saucers.


Colorful Kitchen

A color-splashed wall sets the tone for this stunning Danish kitchen. What is your favorite element in this modern space?


Colorful Kitchen

Filled with gorgeous interior design ideas, this soft green kitchen is one of my favorites. Enveloping a room in color does not have to be risky. By choosing a pale version of your favorite hue, you can use it with abandon and never tire of the look.


Colorful Kitchen

Then again, if you're fearless about color in your interior spaces, rather than pale shades, choose the happiest, most brilliant hues you can find. Here, the homeowners seem to adhere to the adage "Go bold or go home." Only they went a step further and took bold home to their kitchen.

Images 1 | 2 | 3 | 4 | 5 | 6 | 7 | 8

Which kitchen is your favorite? Tell us in the comments below! Also, be sure to head on over to Design Shuffle and check out fantastic designs from top Chicago interior designers, Boston interior designers and many others!

Pin It

April 12, 2012

Yellow Splash

Back in February 2011, I wrote this little post about adding yellow to our newly gray 1/2 bath. Well, guess what? I'm just now getting around to following through on that thought. I know, I know. I'm on the slow train when it comes to the finishing details of decorating. But at least this is a start.


I actually added the picture frame (from Pier 1) a while back. It has a picture of my cousin, Caroline, in it. She has on yellow accessories that match beautifully. Every time I use the restroom and see the picture, I think to pray for Caroline. I guess you could call them potty prayers. Is that creepy? Put family photos in your bathroom. It's good prayer time.


P.S. The picture was taken by my brother who is a professional photographer (clearly I need to get some tips from him).

The frame hung by itself until a couple weeks ago when I bought 2 yellow plates at Crate & Barrel for just a few bucks each. Yes, yes, I have a thing for dishes and I can't stop buying them and I'm seeking counseling on it already... blah, blah, blah...


I actually like the irregular shape of them. It's a little different than most of the other plates I own. Makes them unique.

And I like the round plates next to the square frame. Variety of shapes is a good thing!


Now I have to decorate the wall space on the opposite side of the room. I already have a floating shelf bought for it and a few accessories. I just need to get 'er done. And I need my husband to hang the shelf for me (he's good like that). And I plan to add a touch of yellow in whatever window treatments I purchase/make.

But what do you think of the gray and yellow theme? It's a year later and I'm still digging it!


Pin It

April 5, 2012

Busy, Busy

This week has been CRAZY busy. We've had stuff going on every single night, including tonight. And Easter weekend is coming up and it's going to be even busier.

So, super sorry, but not much to post on this week. I've been working on 2 non-home-related projects during the few minutes of spare time this week...

1. Puppy Training - Rose is getting bigger and has more energy then she knows what to do with. She's learning fast, but we're still working on the potty training!


2. Picture Sorting/Scanning/Filing - Yes, I've taken on the ginormous task of scanning my pre-digital-times childhood photos onto our laptop and then sorting them into files by date. This is going to take FOREVER! And I have loads of pics to get from parents in a couple weeks.

So, here is the state of our dining room currently with my pictures in piles and a scanning station set up on a folding table...


Wish me luck over the next few days/weeks/months (however long this takes)!

I'll be back next week with something on the home front. I promise!

Pin It
Visit InfoServe for Blogger backgrounds.