
First, let's rewind for a second and look at the east side of our property in September 2010. There was a ginormous bush taking over the front stoop and a bazillion bee-attracting flowers that grew down the east side of the house, which is adjacent to our neighbor's driveway.

I gave you a little update last fall when we removed the bush. It helped the claustrophobic space feel more airy.

Then we skipped ahead to May 2011, where we attempted to remove all the flowers down the side of the house, but somehow ended up spreading seeds over the area that caused new flowers to spring up. GRRRR...

At that point, we lost patience and went to a fast and easy flower-killing option (of which I have no picture). Joey watered the whole area using Mr. Hose. Next he put a sheet of plastic over the whole thing and held it down with bricks and left said plastic there for about a month (we kinda forgot about it). What happened during that month? The sun fried the flowers that were attempting to grow and left us with dirt and dead roots, which Joey ground up.

Joey then took landscaping fabric and staked it down to cover the area and prevent weeds from springing up. It sat like this for another 2-ish weeks.

That is until this weekend when we finally took pity on our neighbor - who has to look at this every time she steps out of her house/car - and decided to make the area a little more "finished". So, here's what went down.
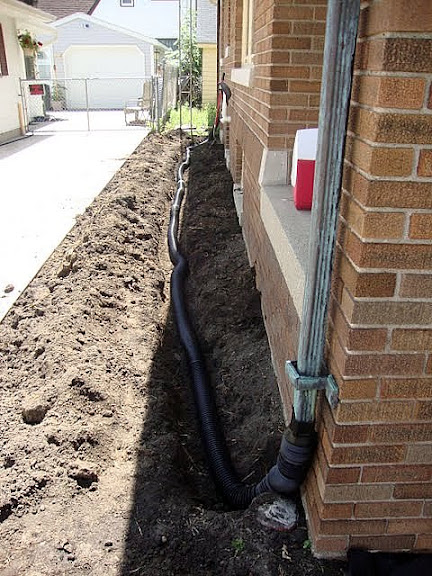
First, Joey decided it would be great to have the downspouts from the gutters drain directly into the soil to water the future plants that would go there rather than drain on top of the grass. Great idea, Joey! This meant installing a drain system underneath the dirt. But what about that landscape fabric that we put down over the dirt? Oh yeah, it had to come up. Thankfully, that was easy. Once the fabric was pulled aside, we dug a ditch down the center of the dirt. This was hard work.

The digging actually only took about 30 minutes, but in 90 degree heat, it felt forever.
Anyway, once the ditch was completed, we could then install the drain system. Joey bought the plastic drain tube at Menard's (not sure exact price, but it was inexpensive) and it reached about 2/3 the length of the ditch...

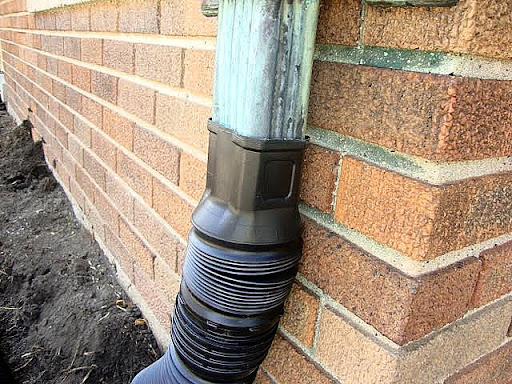
So, we then hooked another drain tube up to the downspout at the back of the house and then connected to the 2 tubes in the center with a special connector-piece. Voila!
Each end was sized to fit right onto the downspout. Snug as a bug in a rug. Joey said he will probably still screw the pieces together to keep them tight in the event of storms or wind.
Once the drain was in place, we filled in the dirt and raked it nice and smooth.

With the dirt back in place, we could lay the landscaping fabric over it and get back to where we started. And this called for a water break.

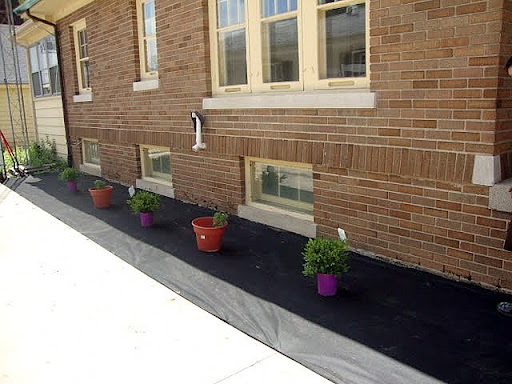
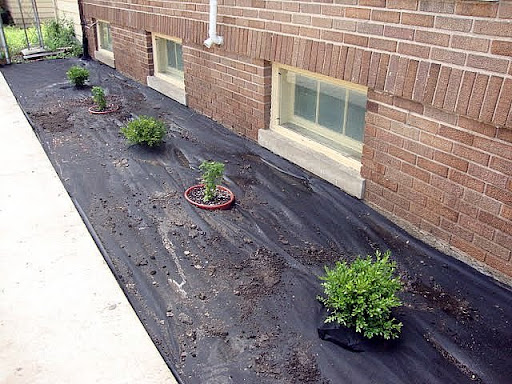
Next came the time to plant. We purchased just a few items that morning, including 3 boxwoods and 2 white mums. I knew I wanted this side of the house to be clean cut and low maintenance. And we took into account the amount of sun/shade and moisture required for the plants to grow. So, this was the easy peasy route. We will be purchasing additional flowers to fill in areas later on. This was just a start.
We lined the plants up all plants to make sure the spacing was right. We put the green velvet boxwoods in front of the brick areas as these will eventually grow to about 3-5 feet wide and 3 feet high. The mums went in-between in front of the basement windows.
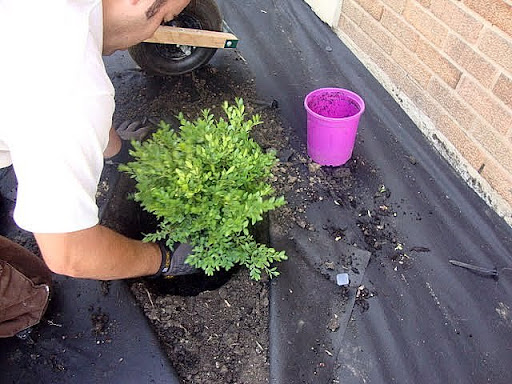
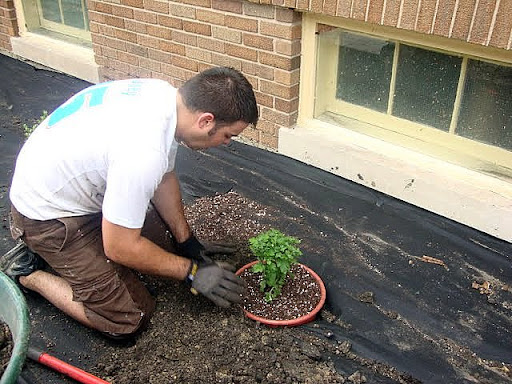
Joey took a knife and cut the fabric open in order to dig a hole for the plants.

The boxwoods were taken from their little container and put directly in the ground.
The mums got potted in plastic pots that would sit in the ground. We used good potting soil to hopefully give the flowers a better chance of staying alive.

Joey had to move the drain pipe to the side a bit to get the pots in the ground.

But they eventually squeezed in nice and tight. Then Joey filled in the dirt around them.
Once all 5 plants were in the ground, we gave it all a good watering. The landscaping fabric allows water to seep in without weeds coming up.
The final step for the day was laying mulch over the area. We went with a dark brown mulch rather than red mulch like many people do. I though the brown looked better with the brown-colored brick, I wanted it to blend in rather than stand out. It definitely gives the area a finished look (even though it's not finished).

Hopefully these babies will start growing soon. They look shrimpy right now. And like I mentioned earlier, we will later plant some flowers for layering and filling in space.

So, what's next? Oh, so much! This front corner is still very bare. We have a plan in mind and hope to execute it before fall.

These front edge pavers need to be inserted into the ground. They'll make a nice little border between the mulch and the grass.

And don't even get me started on what's behind this area leading into the back yard. Yikes!

But at least this side area has come a long way from when we started. It feels good. The boxwoods were on sale for $14.99 each and the mums were just a few dollars. So, everything, including mulch, fabric, and drain pipes cost under $100 to complete. It was money well spent.
Anyone else buried any drain tubes recently? Have you had luck with boxwoods? What's your favorite low-maintenance flower? Share the goods.


No comments:
Post a Comment