
Here are the last 3 large-scale pictures I took of our kitchen...
Picture #1: Posted 10/6/2010 - showing the new countertops we had installed...

Picture #2: Posted 10/13/2010 - showing some blue paint on the walls (the color looks way off in this picture) and the upper cabinets installed...

Picture #3: Posted 10/25/2010 - showing the addition of crown molding and hardware on the cabinets (the blue paint looks a little better in this pic, but the cabinet color is too dark)...
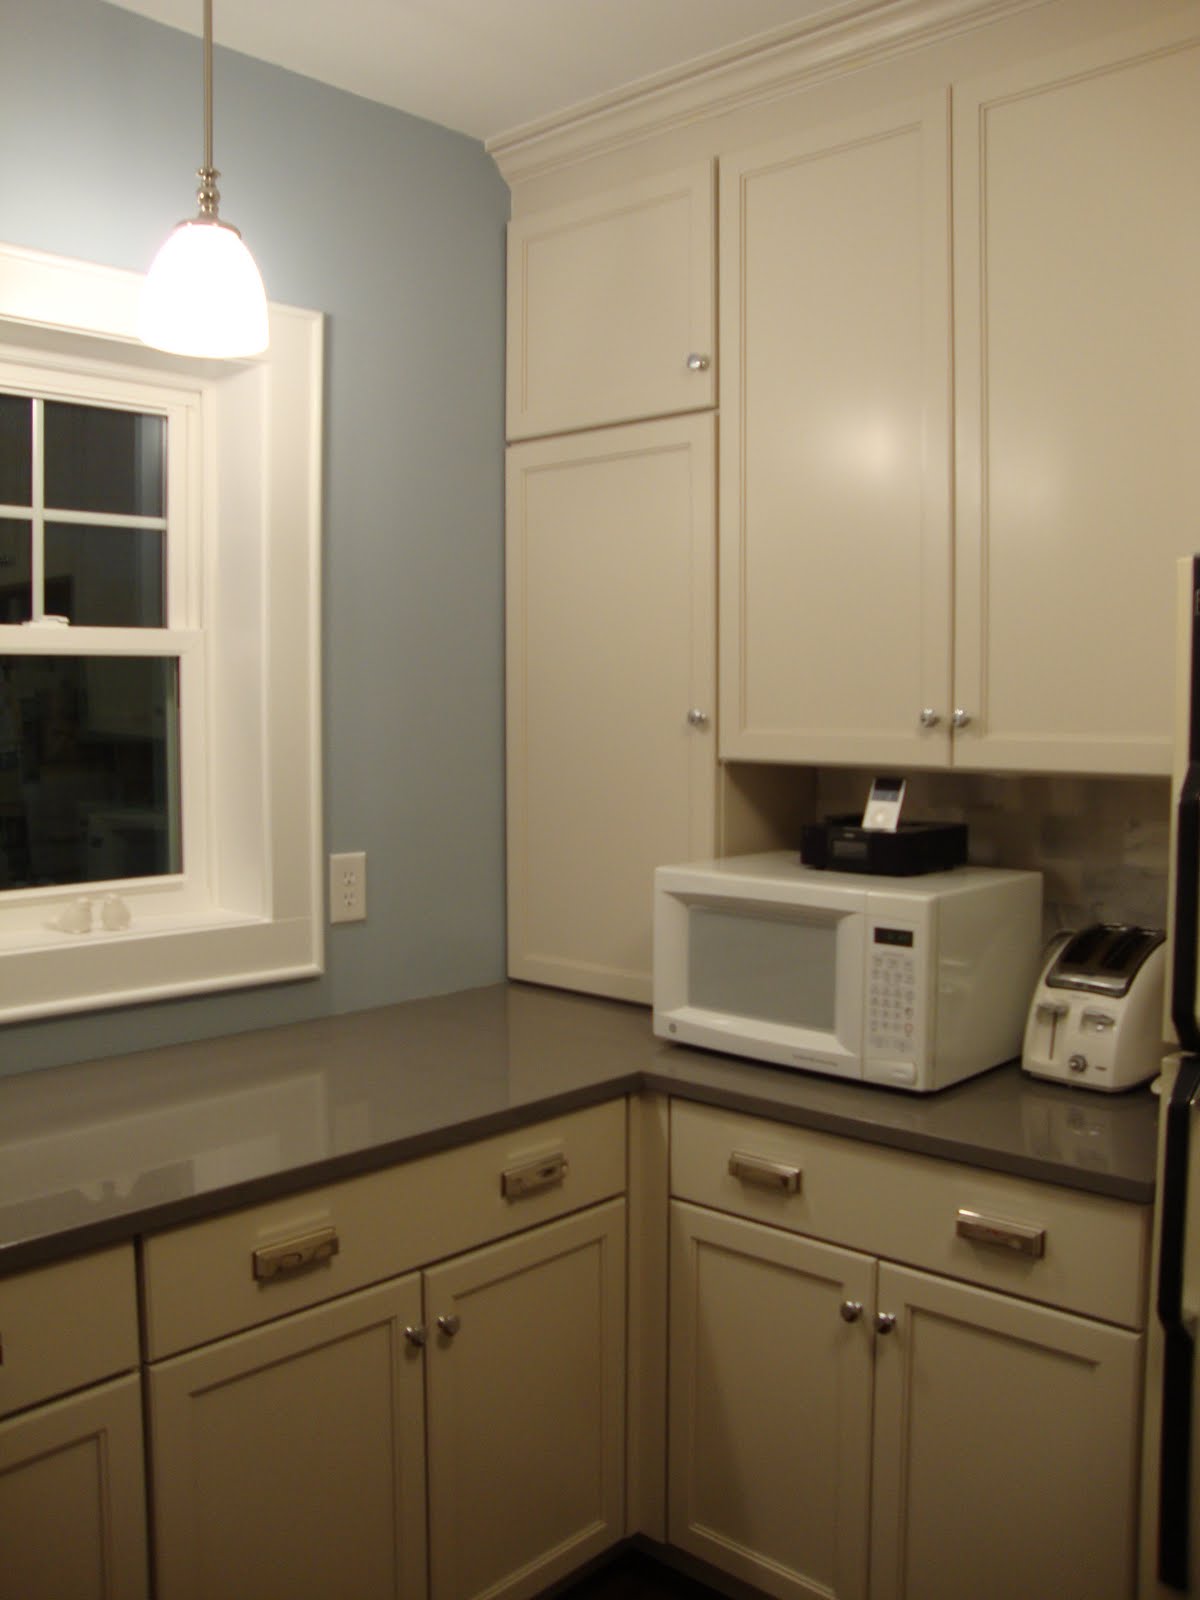
Now, here is a picture of the kitchen I took a few days ago...

It appears that my camera-practice has payed off over the last few months as the coloring is much improved in the picture (perhaps a little blurry though). Not a whole lot appears to have changed from this angle, except a basket that I placed on top of the fridge for collecting mail and other papers that tend to land on the counters otherwise.
One item that has changed, but has ever been shown to you directly (although I hinted at it in this post) was the backsplash we (partially) installed in the kitchen.

The backsplash consists of carrera marble subway tiles that we purchased at Home Depot. I love the look of marble, but one big slab of it can be very expensive (thousands of dollars). Purchasing the subway-style tiles only cost us around $150 total. I think it's the "biggest bang for our buck" item in the house so far, and I love it! The variation of colors (whites/creams/grays) pull together all the colors used in the kitchen (brown hardwood floors, gray countertops, not-quite-white cabinets). It looks high end and acts as the "bling" in the room.

You can see that the backsplash is not completed though. It still has to be grouted. We placed the tiles very close together so that you will hardly see the grout lines once the grout is applied, but it will definitely be needed to give it a finished look.
So, why has Joey waited 6+ months to grout the tile? Good question!
Answer: Joey has not grouted the tile yet because he was waiting to get the remaining tiles installed around the stove where our new microwave will eventually be installed (that way he can grout all walls at one time), but he wanted to get the microwave installed first in order to determine how far in and up to tile (as to not waste extra tiles)...

And here is where our hold up begins...
You see, we were planning to purchase the over-the-range microwave at Christmas, but a little problem came up. We found out that the middle cabinet installed directly above the stove is the wrong size. It's too tall. The microwave would practically sit on the stove after being installed at the current height. Grrr... and a new cabinet will cost about about $300. So, the cost of the new cabinet + the new microwave was above our budget limits for the kitchen at the time. So, it has stayed as is for the last few months while we worked on other parts of the house.

I do have some good news though! This past week I thought of a work-around for the cabinet/microwave problem that we think will work and save us the money of buying a new cabinet. So, we hope to implement that plan very soon. More to come on that plan!
Moving right along, this last picture shows the back corner of the kitchen where you walk in from the back porch. We use this entrance 99.9% of the time since it leads in from the garage/driveway side of the house. This corner is very un-finished at this point, but it won't take much effort to get it finished. It's been a matter of laziness (and painting burn-out) that it has not been completed.

This corner contains 2 shallow-depth built-in cabinets that we did not remove when we took out the rest of the old cabinetry. They will work well for storing canned goods and other pantry-like items. You can see above that one of the cabinets currently has the door removed in preparation for painting the inside of it. The walls and the door and the trim also need another coat of paint.
In addition to all of the above, Joey has to finish installing the trim around the ends of the upper and lower cabinets and paint the crown molding and base molding. Then there's all the decorating. And a new refrigerator and stove will probably come last.
Whew. That's quite the list! But we hope to start crossing items off soon!
To summarize the above, here is the loooong Kitchen-To-Do-List (in no particular order):
- Fix cabinet-above-stove issue (more details to follow)
- Purchase and install over-the-range microwave
- Install remaining backsplash tile around stove
- Grout backsplash tile
- Attach light switch and outlet plate covers to walls
- Install remaining cabinet trim
- Paint cabinet trim, crown molding, and some under-cabinet areas ("Dove" white)
- Finish painting walls ("Shale" blue)
- Finish painting back door, base molding, and old built-in cabinets (white)
- Put up window treatments (shades? curtains? bamboo blinds?)
- Decorate! Decorate! Decorate!
- Purchase new stove and fridge
Stay tuned!


No comments:
Post a Comment